Working in a virtual environment inside VS Code keeps your projects organized and avoids dependency problems. You can install the exact libraries your project needs without affecting other projects or Python environment of your system. And it makes sharing your work easy – just share with them the txt file, and they can recreate the same setup right away. It’s a hassle-free approach.
Why is it important?
1. Organizes Projects
Each project is in its own isolated environment, so packages don’t interfere with each other.
Example: You have two projects – Project A needs Flask 2.0 and Project B needs Flask 1.1 – if you install them globally, one project can be broken when you upgrade Flask. A virtual environment keeps them apart from each other.
2. Prevents Version Conflicts
Different projects can require different versions of the same library.
Example: Your old Django project needs Django 3.2, while your new project needs Django 4.0. Without a virtual environment, installing Django 4.0 globally might destroy your old project.
3. Prevents System-Wide Breakage
It leaves your global Python installation untouched and prevents system tools from being broken.
Example: You install a new package globally that alters a core Python library. Suddenly, system tools like pip or conda no longer function. A virtual environment sidesteps this by encapsulating changes.
4. Simpler Collaboration
Others can simply copy your environment with a txt file.
Example: You distribute your project to a co-worker, but it won’t run because they don’t have dependencies. If you used a virtual environment, they could just run the txt file (normally called requirements.txt) and have the same environment you did.
5. Works Flawlessly with VS Code
You can simply select the Python interpreter of the virtual environment, hassle-free.
Example: Without a virtual environment, you may encounter “ModuleNotFoundError” when running your script. With one, VS Code always knows where to find the correct packages.
6. Guarantees Stability & Security
Protects against accidental package updates that may destroy your project.
Example: You update NumPy for a new project, and voilà, an old project relying on an older version of NumPy ceases to work. A virtual environment prevents this mess.
How to create a virtual environment in VS Code?
Step 1: Open VS Code
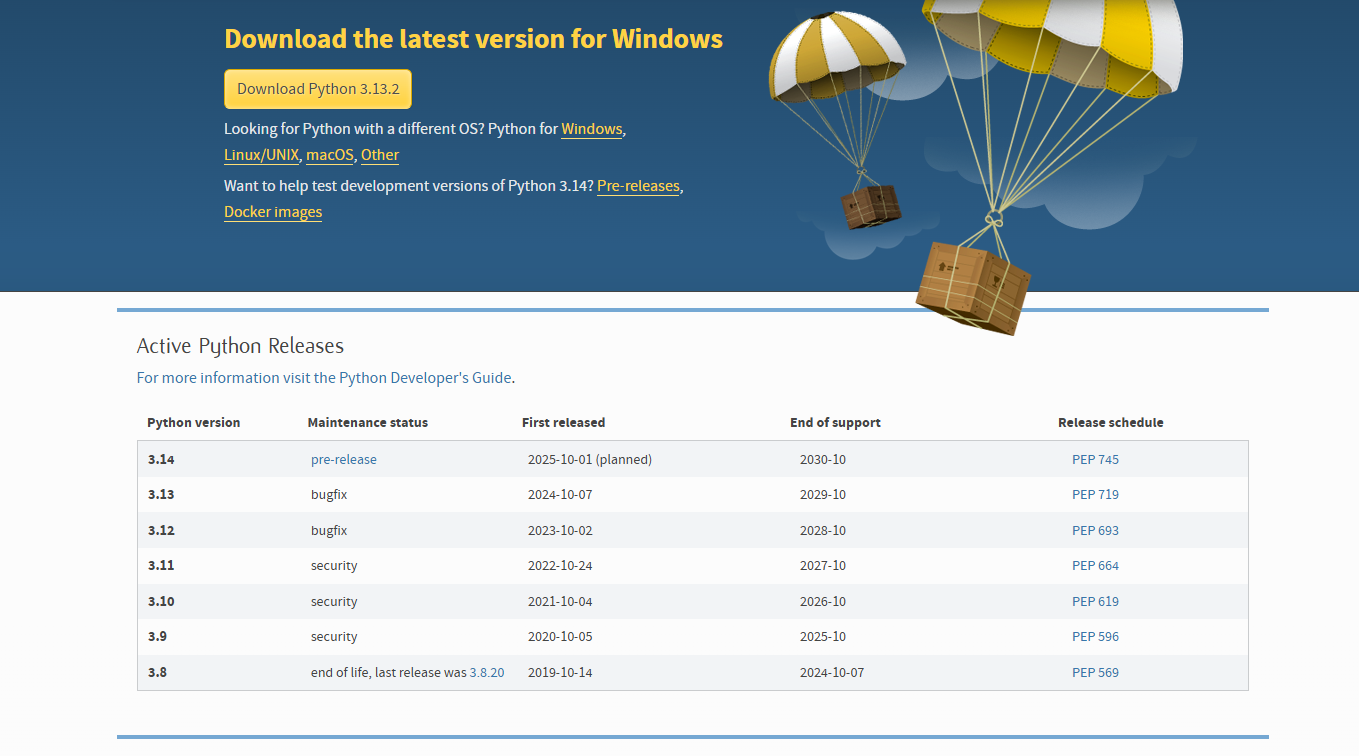
Ensure you have Python and VS Code installed. If not, download and install them first. For the purpose of this exercise, I’m going to download the Windows version.
Installing Python: Python Downloads
Make sure to download the Python version you plan to work with. Alternatively, you can install multiple versions and create your virtual environment using the version that best fits your project. This way, you have flexibility and can ensure compatibility with different dependencies.
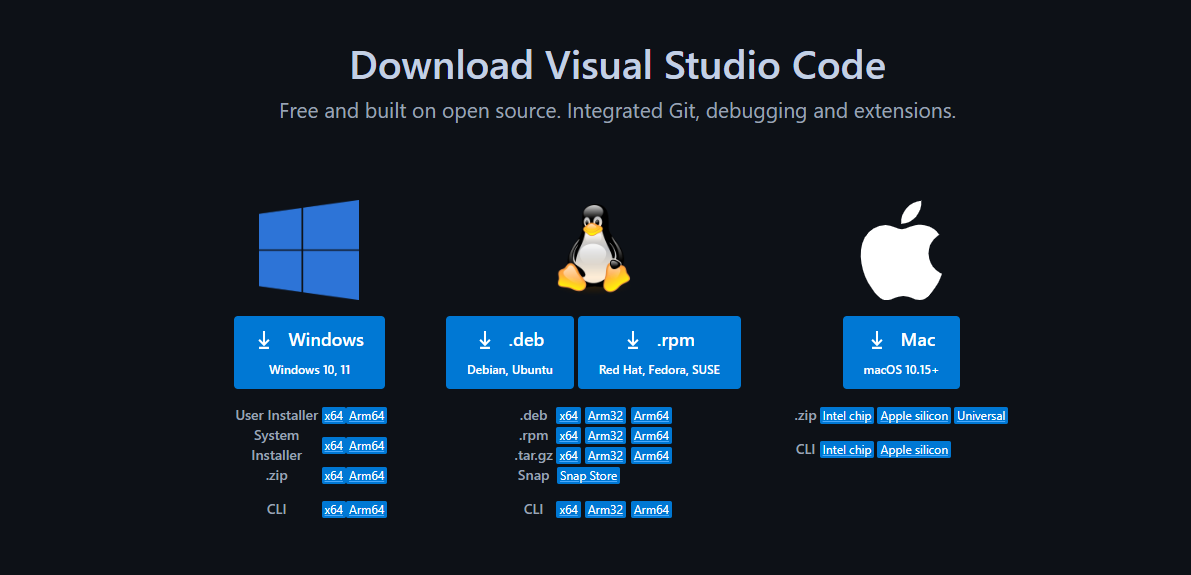
Installing VS Code: VS Code Downloads
Step 2: Open a Terminal in VS Code
After installing both Python and VS Code, open VS Code and then open the Terminal (Ctrl + ~ or go to View > Terminal).

You should create the virtual environment inside your project folder to keep everything organized. It’s likely that the folder that appears in the terminal is not the one you want to work in, unless you’ve already opened the project folder.
To change the folder, use the following command:
cd <Your project folder path>Step 3: Create the virtual environment inside the project folder and activate it
To create the virtual environment inside your project folder, use the following command:
python -m venv venvThen, activate the virtual environment:
venv\Scripts\activateAlternatively, navigate to the Scripts subfolder inside the venv directory and run the activation command.
Step 4: Install packages
To install the necessary packages, you can use the following command for the most common ones:
pip install pyodbc pandas lxml openpyxl requestsStep 5: Install Dependencies (Optional)
To allow others to use the same environment you’re using, you need to save and share your dependencies. To do so, create a requirements.txt file by running one of the two options:
pip freeze > requirements.txt

pip install -r requirements.txt
The name requirements.txt is the most common, but you can name it as you prefer.
For more information, consult the official documentation: VS Code Python Environments.
Want to Apply This in Your Work?
If you’re working with data and want to go beyond basic charts and scripts, I offer tailored support to help you build real impact with your insights:
🎓 Personalized Workshops: Hands-on training sessions tailored to your team, tools, and goals
🧠 Consulting Services: Strategic guidance on turning data into decisions – whether it’s modelling, metrics, or storytelling
🕒 Fractional Data Scientist: Embedded support for companies who need senior data expertise without a full-time hire
Whether you’re scaling a product team or building out your first data processes, I can help you use data more effectively, with clarity and confidence.
👉 Get in touch to start a conversation.

Leave a comment